Showing posts with label DIY. Show all posts

Monday, December 16, 2013

It's Christmas David!

David, from No David! by David Shannon is a favorite of kids 5 and under everywhere.  He is always doing everything they want to do and getting in trouble for it.  


No David is making his Christmas debut.  In It's Christmas David! David is up to his antics again but this time Christmas-style.  David is caught stealing cookies, playing with ornaments, peeking at presents and waiting up for Santa.  All things I am sure our little ones are up to this holiday season.  

If you have a David in your house who loves to take ornaments off the tree, try making this felt tree.  They can take the ornaments on and off as many times as they want and not hurt a thing!


Materials:
- 1 yd. of green felt
- felt squares in multiple colors
- puffy paints or glitter glue
- scissors
- Scotch tape

Directions:
1) Using the green felt cut out a tree shape
2) Using the felt square cut out circles for ornaments
3) Cut out a star for the top
4) Decorate with glitter glue
5) Tape to the door using scotch tape
6) Have fun decorating your tree over and over!


Happy Reading!
Laura


Tuesday, November 19, 2013

Who am I?

Here is another book to share with toddlers that either 1) love animals  2) love lift the flap books 3) love guessing what something might be.


City Animals by Simms Taback is dubbed as a "giant fold-out book" because the flaps are huge!  On the left side of every page the book has the words, "Who am I? with just a fraction of the city animal showing.  The right side of the page gives a clue that you can then flip up to reveal another clue and more of the animal.  When you fold out the second clue a full picture of the animal is revealed as well as the animal name.

Here are some pictures of how the book works.

My toddler loved lifting the flaps of this book so much I thought- we should just make our own!

Here is how I did it:

Materials
- 1 piece of 18x11 construction paper
- Glue
- 3 pictures of objects your child is interested (I printed mine from the internet, just make sure they are about a 1/2 page when printed)
- Scissors
- Instruction on how to make a mini-book found here

1) Use the 18x11 piece of construction paper to make the mini-book.

2) Cut the 3 printed pictures into rectangles and then fold into fourths so that your picture looks like this.

3) Cut one slit in the middle of the picture like this:


4) Glue only the bottom half into the book like this:

5) Then you can add the text to your book, like this:

6) Now your book is ready for your little one to enjoy!

You could make this type of book for or with almost any aged child.  Obviously, my toddler could not make the book, but he loves reading it.  If you have an older child they could help with the cutting, gluing and writing!

Happy Reading!
Laura


Friday, October 25, 2013

DIY Book

There is nothing more than kids love than themselves.  My little boy loves watching videos and looking at pictures of himself.  He has recently started saying and "writing" his name.  Watching him do all this I thought, he needs a book about himself, so what did we do?  We made one!

The book is simple to read and simple to make.  All we did was take an old book that we had bought for less than a dollar that he does not read anymore and covered it with construction paper.  After we covered the book we added pictures of him that we printed out.  All of the pictures are of him doing different things that he loves (eating, playing, digging etc.).

Next we added the text. I simply wrote the text in the book because it was easier and I think it is important for children to see written text but it could be typed.  Every page just has two words of text, his name and what it is he is doing in the picture.  For example: Anthony reads.  It's important for early literacy skills for the words to go along with the picture because using a picture to determine a word is one of the first strategies readers learn.

Last, we read the book.  He likes to flip through the pages and "read" the book by saying "Annanee." He also likes to examine the pictures as if he is remembering the moment in time when it was taken.

So on the next rainy, snowy or cold day when it is too yucky to go outside, try making a book.  It is something you child will enjoy and treasure.

Here are some pictures from our book:


I would love to hear about or even see a book you have made with your child!  

Happy Reading!
Laura

Thursday, September 26, 2013

Throwback Thursday

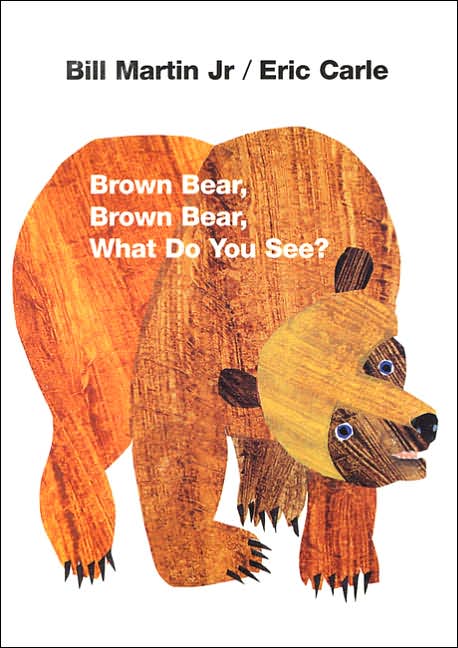
This week's Throwback Thursday I am going to give you a new twist on an old classic.  I am pretty sure almost every child out there has Bill Martin Jr.'s Brown Bear, Brown Bear, What Do You See? on their bookshelf.  On the same note, I am almost just as sure that parents tire very quickly from reading Brown Bear, Brown Bear over and over again (DISCLAIMER!!! It is very good to read the same book to your child over and over.  It helps them to develop several pre and early reading skills like tracking, memorization and one-to-one correspondence so even though it is boring to you your toddler loves it!). So I decided to spruce up on of my copies of Brown Bear, Brown Bear  to help my 17 month old with his color recognition.

What I did was very simple and everything I needed I had at home.

Materials
- the book Brown Bear, Brown Bear, What Do You Hear?
- brown, red, yellow, green, blue, purple, white, black and orange construction paper cut into small one inch circles
- contact paper
-velcro

Instructions:
1) Cut out a circle about one inch in diameter of each of the colors mentioned above.  I used a water bottle cap to trace.
2) "Laminate" the circles by covering them in the contact paper.  Cut the circles out.
3) Put a piece of soft velcro on each colored circle and a piece of the rough velcro on each animal.
4) Attach the colored circles to the matching animal.
5) Viola you have just taken a classic children's favorite and transformed it into an activity that will keep your child entertained for HOURS!  Okay who am I kidding what toddler is entertained for hours in anything- but it does keep them busy for a little bit!

Here are some pictures of my finished product:
Here you can see the brown circle velcroed onto the bear's leg.  

Same with the frog. 

Here are all the colors laid out ready to be matched to the correct animal. 
So far my little boy has really enjoyed pulling the colors off each of the animals.  We are slowly working on matching the colors.  Of course I model for him how to put the right color on the right animal, but right now he just likes playing with the colors and feeling the velcro which is fine with me! Because of this easy revamp we can both enjoy reading a favorite once again!


Happy Reading!
Laura